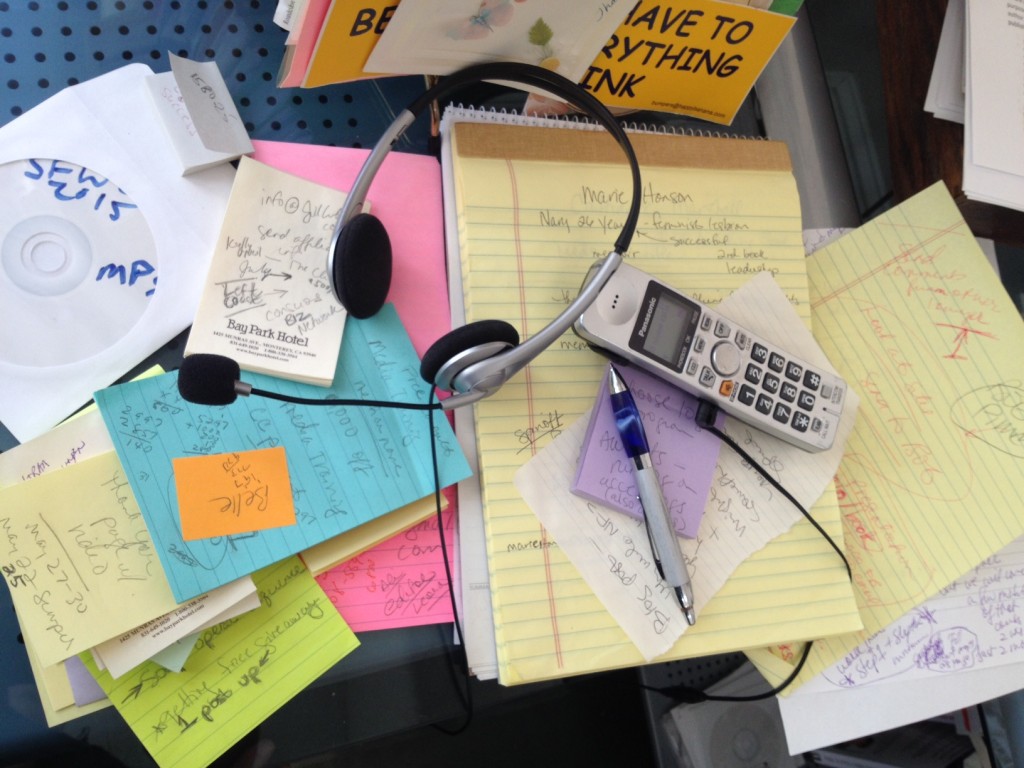
 The majority of bloggers and writers who come to me for help don’t lack ideas. They struggle to find the organize skills that help them turn their ideas into books and blog. Indeed, organization can prove a challenging task for creative people. If you are like me, your desk often becomes a jumble of papers, sticky notes and books. (Your computer files are often just as disorganized as your physical file cabinets.)
When I settle down to write or to blog a nonfiction book, however, I force myself to get organized. This is especially true if I want to do it quickly, like when I have a deadline or I take on a challenge such as National Book Blogging Month (NaBoBLoMo).
Nonfiction books can entail a fair amount of research and detail. Keeping all of this material arranged in a systematic way is important, especially if you don’t want to stop writing or blogging to find research, facts or details. Yet, sometimes you need that information to write! Organization becomes essential if you want to blog a book in a month (or less), or if you simply want to get it done as efficiently and quickly as possible.
6 Tools for Organizing a Nonfiction Book
Luckily, there’s an organizational tool for just about every writer’s style. Here’s a list of six such tools from which to choose. One should fit your needs.
 Piles. If you like to copy or print your research, or you find yourself tearing out articles from newspapers and magazines, you are a perfect candidate for the pile method. Simply start sorting through all your “research,” and placing it in piles that seem related by subject matter. (Hopefully, you can at least find all your research.) When you are done, you will have a variety of piles, each one likely related to a particular chapter in your book. If you like, you can leave your piles neatly sorted in a place where no one will bother them. Or you can put them in labeled folders.
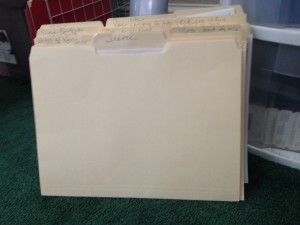
- Folders. Online or off, folders represent the second easiest way to organize your work or research. You can place your research or printed draft chapters (or snippets of writing) in physical manila folders or even an accordion folder. You can also place it in a three-ring binder. Today, there are many types of nifty folders to purchase. Online, it’s easy to create folders on your computer for a specific project or to store them in the cloud using Dropbox or some other program, like Evernote (see below).
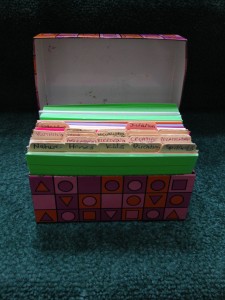
 Cards. If you are one of those people who like to write everything down by hand, you may like the 3” x 5” card method. Today, you can get these cards spiral bound or in perforated little tablets so you can carry them with you easily. This allows you to write down all your ideas and then file them later. You can place them in a special card box, which is a really nice way to organize a book project, especially if you get dividers to separate your chapters.
- Evernote. If you are more technology oriented, Evernote is a cool program that synchs your smartphone with your computer or tablet. You can easily add your own notes, clip web pages and articles, and place them all in a “Notebook” for your book project. Within that notebook you can create many different “notes.” All of it is saved in the “cloud.” As you write your manuscript, you can save this to Evernote as a backup as well.
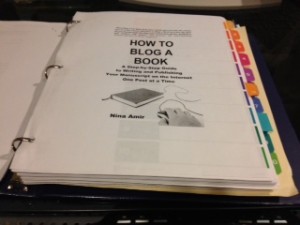
 Binders . If you like the idea of a binder, but you don’t want to store everything online, purchase an actual three-ring binder and some inserts with numbers or pockets. Use these to separate chapters and to hold some of your research. Print your manuscript as you write, punch it with three holes, and “build a book” as you compose.
- Scrivener. This computer program allows you to upload all sorts of research as well as to create your manuscript (or upload your existing manuscript), and to then organize it—all in one program. If you like the card system, you’ll love this, because it has a bit of that as well—cards attached to cork boards allowing you to visually move your information around and to file things in folders. If you like folders and binders, this is for you as well. The folders appear to exist in a large binder, almost like old Trapper Keepers. Many writers say this program revolutionizes their writing process.
Write Continuously
A disorganized project can lead to disorganized thoughts and disorganized writing…and a lot of time spent looking for what you need. Believe me…I know. It can stop your fingers in their tracks, which means you won’t blog your book in a month or by whatever deadline you choose.
That’s why I recommend going through the process of creating a business plan for your book prior to writing as well. It hones your idea, helps you get clear on what goes in each chapter of your nonfiction book, and focuses your writing not only on the subject at hand but on what your reader needs and wants, which makes your book marketable.
Creating a business plan serves as an important organizational step. During the process, you’ll discover what additional research or material you might need for your book to make it unique and necessary in its category and market.
Take the time to get organized first, and then write your nonfiction book. You’ll find the process goes much more smoothly if you do.
Don’t Forget to Organize Your Time and Space
It’s just as important to organize your time and space as the material for your book. You will find it hard to write a book amidst the clutter on your desk and without a specific time allotted to writing each day or week.
Clear out a space for your research, so it is close at hand. Unclutter your desk, which helps you think clearly and stay undistracted. And mark off time on your calendar, preferably daily, for writing periods of 30 minutes to an hour or more in length.
Organizing your time may mean organizing your life. It could mean getting a sitter, getting up earlier or staying up later, or asking a friend to take your dog for a walk. Figure out strategies to free up time.
Your Book-Blogging Checklist
To write or blog a nonfiction book, you also need to complete a variety of tasks. Some are simple. Some are more complex. Many writers never get started simply because they don’t know where to start. The overall idea of writing or blogging a book seems too overwhelming. That’s why it’s best to chunk blogging a book down into smaller tasks and organize those into a to-do list or check list. This also helps you write your book fast in a short time frame, such as during NaBoBloMo.
Use the following as a basic checklist to get started blogging your book—and complete it by the end of this month (or your own deadline).
- Set your intention. It’s important to declare to yourself—and possibly to others—that you intent do write a book and by when. You might even want to write a note to yourself that says, “I, __(name)__, intend to write my book, ___(title)____. I will begin on __(date)__ and finish on __(date)__.” Then sign and date this.
- Select your topic. I’ve covered this earlier. Pick a topic you feel passionate about and that serves a specific and sizeable market. It should also be unique and necessary in its bookstore category.
- Give your book a working title. You can finalize this later, when you have finished your book or after #7.
- Create a business plan for your book. To do this, using a book proposal as a template and evaluate the information you compile to determine how to make your idea as marketable as possible. I call this going through the Author Training Process, and I describe it in detail in The Author Training Manual. Evaluate your idea for marketability. Tweak your topic, angle and title as necessary.
- Summarize your book. Write a pitch, a list of benefits and a one-paragraph synopsis of your book.
- Create a table of contents. Decide on both the structure and the content of your book.
- Detail your contents. Write chapter-by-chapter synopsis. Know what content will be included in each chapter.
- Gather your information. Do your research. Collect the necessary books. Have everything close at hand. Conduct interviews.
- Write your first draft. Write…don’t edit.
- Do a round or two of self-editing, then hand your manuscript off to a developmental editor. After that, have it read by a line or copy editor and a proofreader.
Now, you are organized! You have no excuses. Go blog your book! (And consider doing so during National Book Blogging Month!)
Are you participating in National Book Blogging Month? If so, leave a comment below about your project and progress. Or tell me why you want to blog a book.

Leave a Reply